Using Oracle JRockit Mission Control (JRMC)
1. The Oracle JRockit Mission Control 4.0.1 (JRMC) is contained in jrockit_160_17_R28.0.0-679. Download the JRockit Mission control from Oracle website.
2. Install the JRMC in windows .
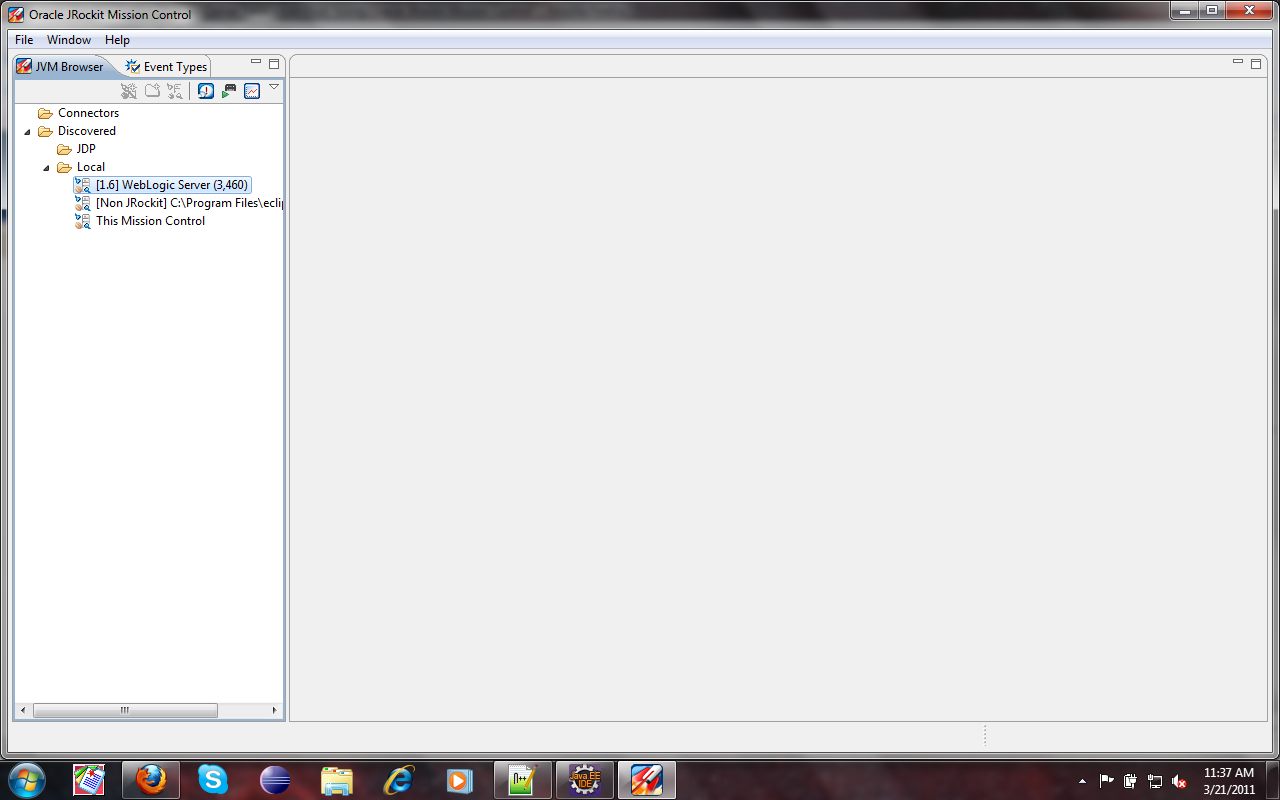
3.Open the JRMC


4. From help menu select "Install Missing Plug-ins...(unsupported)". This will install weblogic plugin for JRMC
5. In Weblogic Server Admin console, set the Diagnostic volume to HIGH. The attribute can be found at this location:

6. Click capture image in Admin Console.This will create the diagnostic_image_AdminServer_xxx.zip

7. The diagnostic_image_AdminServer_xxx.zip will contain a JRockitFlightRecorder.jfr file if you started the weblogic server using jrockit build R28 and starting script for Weblogic server contains the following value:
-XX:FlightRecorderOptions=defaultrecording=true
8. Extract the JRockitFlightRecorder.jfr file from the diagnostic_image_AdminServer_xxx.zip and open the file in JRockit Mission Control.

Some more pics of JRMC are added:


2. Install the JRMC in windows .
3.Open the JRMC

4. From help menu select "Install Missing Plug-ins...(unsupported)". This will install weblogic plugin for JRMC
5. In Weblogic Server Admin console, set the Diagnostic volume to HIGH. The attribute can be found at this location:

6. Click capture image in Admin Console.This will create the diagnostic_image_AdminServer_xxx.zip

7. The diagnostic_image_AdminServer_xxx.zip will contain a JRockitFlightRecorder.jfr file if you started the weblogic server using jrockit build R28 and starting script for Weblogic server contains the following value:
-XX:FlightRecorderOptions=defaultrecording=true
8. Extract the JRockitFlightRecorder.jfr file from the diagnostic_image_AdminServer_xxx.zip and open the file in JRockit Mission Control.

Some more pics of JRMC are added:


Comments
Post a Comment